Create your Windows Forms project
The first step to building your app is a Windows Forms App project. In this article, you learn how to create a form and add elements to it.
-
Open Visual Studio.
-
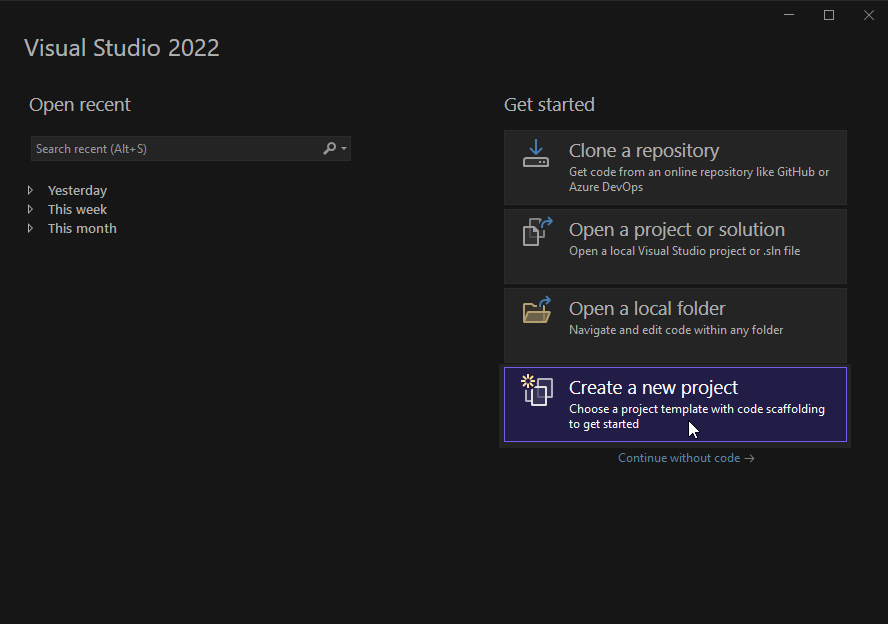
On the start window, select Create a new project.

-
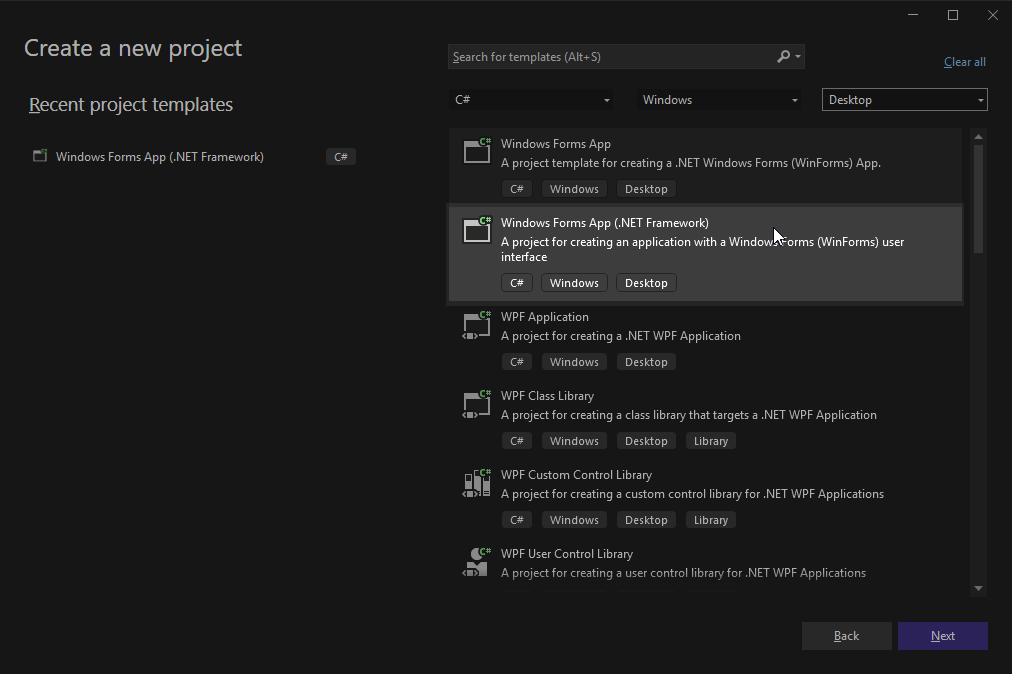
On the Create a new project window, search for Windows Forms. Also, you can use the filters to cut the options list. Choose C# in the All languages list, Windows in the All platforms list, and Desktop in the All project types list.
-
Select the Windows Forms App (.NET Framework) template for C#, and then click Next.

-
In the Configure your new project window, name your project Bouncing balls, then select Create.
Visual Studio creates a solution for your app. A solution is a container for all the projects and files that your app needs.
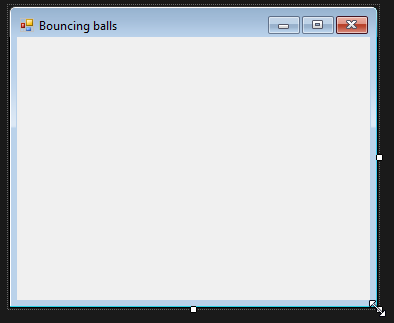
In this step, Visual Studio displays an empty form in the Windows Form Designer. Now you can continue with properties and layout elements.
Add form properties
-
In the Windows Form Designer, select anywhere in Form1. The Properties window is usually pinned in the lower right of Visual Studio.
This section controls various properties, such as foreground and background color, title text that appears at the top of the form, the size of the form, and many other properties.
If you do not see Properties, select View > Properties Window or press F4. -
Find the Text property in the Properties window. The Appearance category includes the Text property. Depending on how the properties list is sorted, you may need to scroll down. Enter the value Bouncing balls, and then press Enter.
Your form now has the text Bouncing balls in its title bar.
-
Set the size of the form using the Size property to 850 pixels wide by 700 pixels tall. To change the form size, select it and drag the handle to resize the form.
You can also resize the form by dragging its edges or dragging the handle until the correct size appears as the Size value in the Properties window.
The drag handle is a small white square in the lower-right corner of the form.
Add layout elements
-
Select the Toolbox tab on the left side of the Visual Studio. If you do not see it, select View > Toolbox from the menu bar or press Ctrl+Alt+X. The Toolbox tab has a few categories to organize form elements.
You can use the All Windows Forms category or any specific category to select an element. Use drag-and-drop actions to order the categories. -
Double-click Label in the Toolbox or drag it to the form. Move the control to the upper-left corner of the form.
-
Double-click NumericUpDown in the Toolbox or drag it to the form. Move the control just below the Label control.
-
Double-click Panel in the Toolbox or drag it to the form. Move the control just below the NumericUpDown control. Set the Panel size to 350, 320.
-
Double-click ListBox in the Toolbox or drag it to the form. Move the control just below the Panel control. Set the ListBox size to 350, 160.
-
Select anywhere on the form. Press Ctrl + A buttons. You will select all control elements. Press Ctrl + C and then Ctrl + V buttons. Use the arrows icon to move selected elements to the right part of the form.
-
In the end, your form should look like the image below.

Note
In this steps, you may not change other properties of these controls.
You will change the behavior of the controls during the next steps.
Run your app
In this step, you can already run your app to check all layout elements.
- Press Ctrl + Shift + S to save all files in the project.
- Press F5 to run your project.